An overview of how the app handles connecting to your local WiFi if setup as a Call To Action
App version 2026.1.7+
Starting with 2026.1.7 users are able to connect to your local WiFi from within the app from either home alerts, banner alerts, welcome pack items or place items. This section will go over the setup and platform differences in design and usability. To learn how to setup these call-to-actions see the setup guide here.
Depending on the device, a slightly different pop-up will appear. However, it will always contain information about connecting to the WiFi network. The title will always be in the “Connect to %@“ format, replacing %@ with the network’s SSID. A QR code allows users to join the network from another device, while a click to connect button lets them connect immediately from their current device.
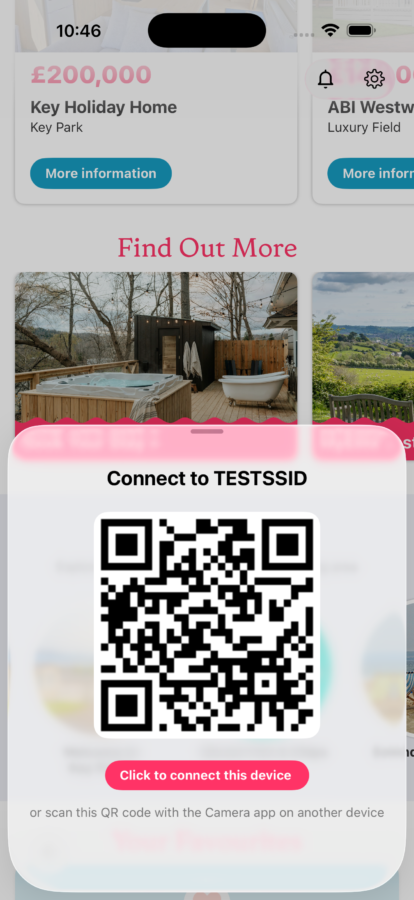
This view shows an example of what the view will look like on iOS devices.
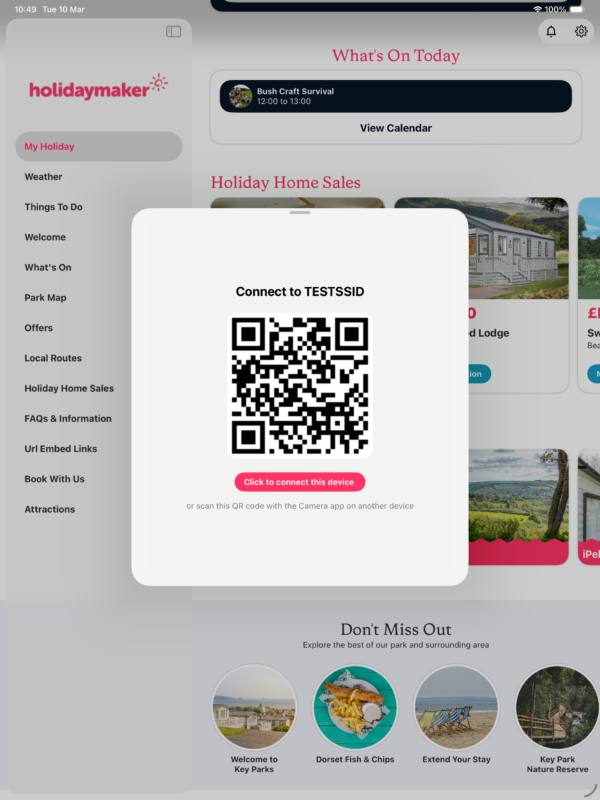
This view shows an example of what the view will look like on iPadOS devices.
Android and iOS display the connection prompt differently. Android devices navigate to a separate page while iOS shows it directly. This page always provides information about connecting to the WiFi network and includes some Android-specific contextual elements. The method of connecting to your WiFi via the app varies depending on the Android version. These details are listed below.
Devices running Android 10 and above can’t connect to WEP-protected WiFi networks via your app and must be entered manually.
Connecting is simple: just tap the button.
Some OEMs might have their own flow. Here’s how it works on a Samsung running Android 12. After tapping the button, you’ll be prompted to grant certain permissions. These are necessary, but you can manually enter the WiFi details if you prefer.
Once permissions are granted, a system dialogue will show “Checking for devices”. If your WiFi network is found, a second dialogue will ask if you want to connect. There’s a 30-second timeout before you have to try again. Once connected, the connection will be temporary through your app. It’ll disappear when your app exits the foreground or is memory managed.
To make the connection permanent, so your device can auto-connect in the future, navigate to the WiFi settings page and manually enter the password shown on the WiFi screen.
The steps are the same as Android 10-12, but the initial WiFi screen launch will prompt for an additional system-level permission called “Nearby Devices”.
Both a QR code and the full WiFi details will be displayed, so you can manually enter them.
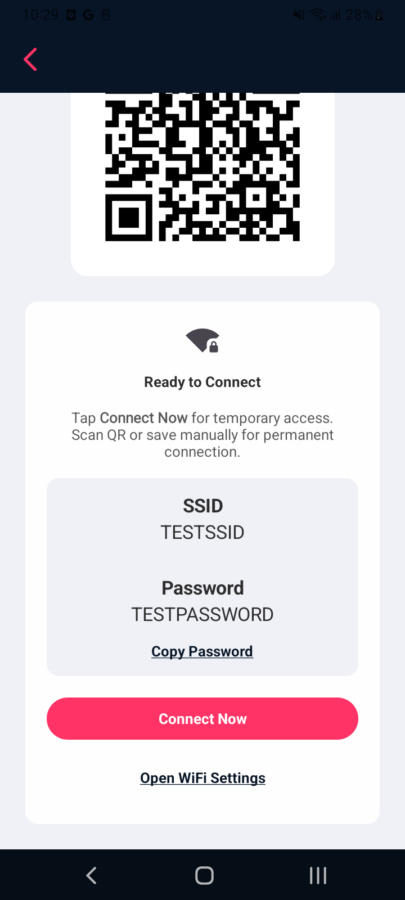
This shows the default Android screen once permissions have been granted.
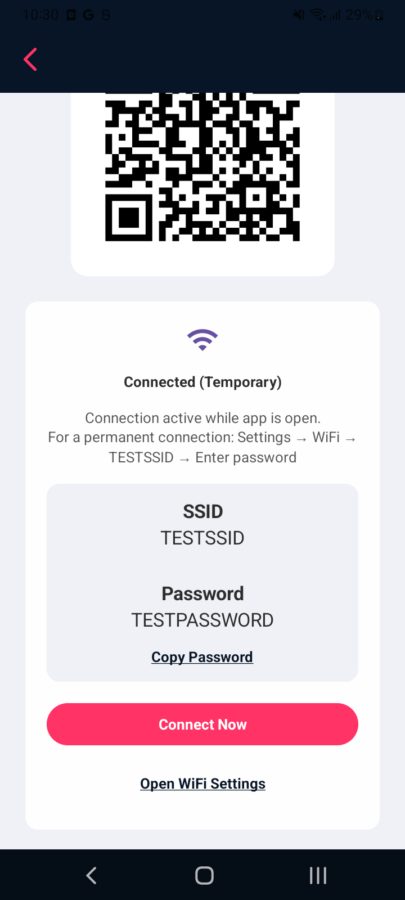
This shows the default Android screen once the app has connected temporarily.